
Construction
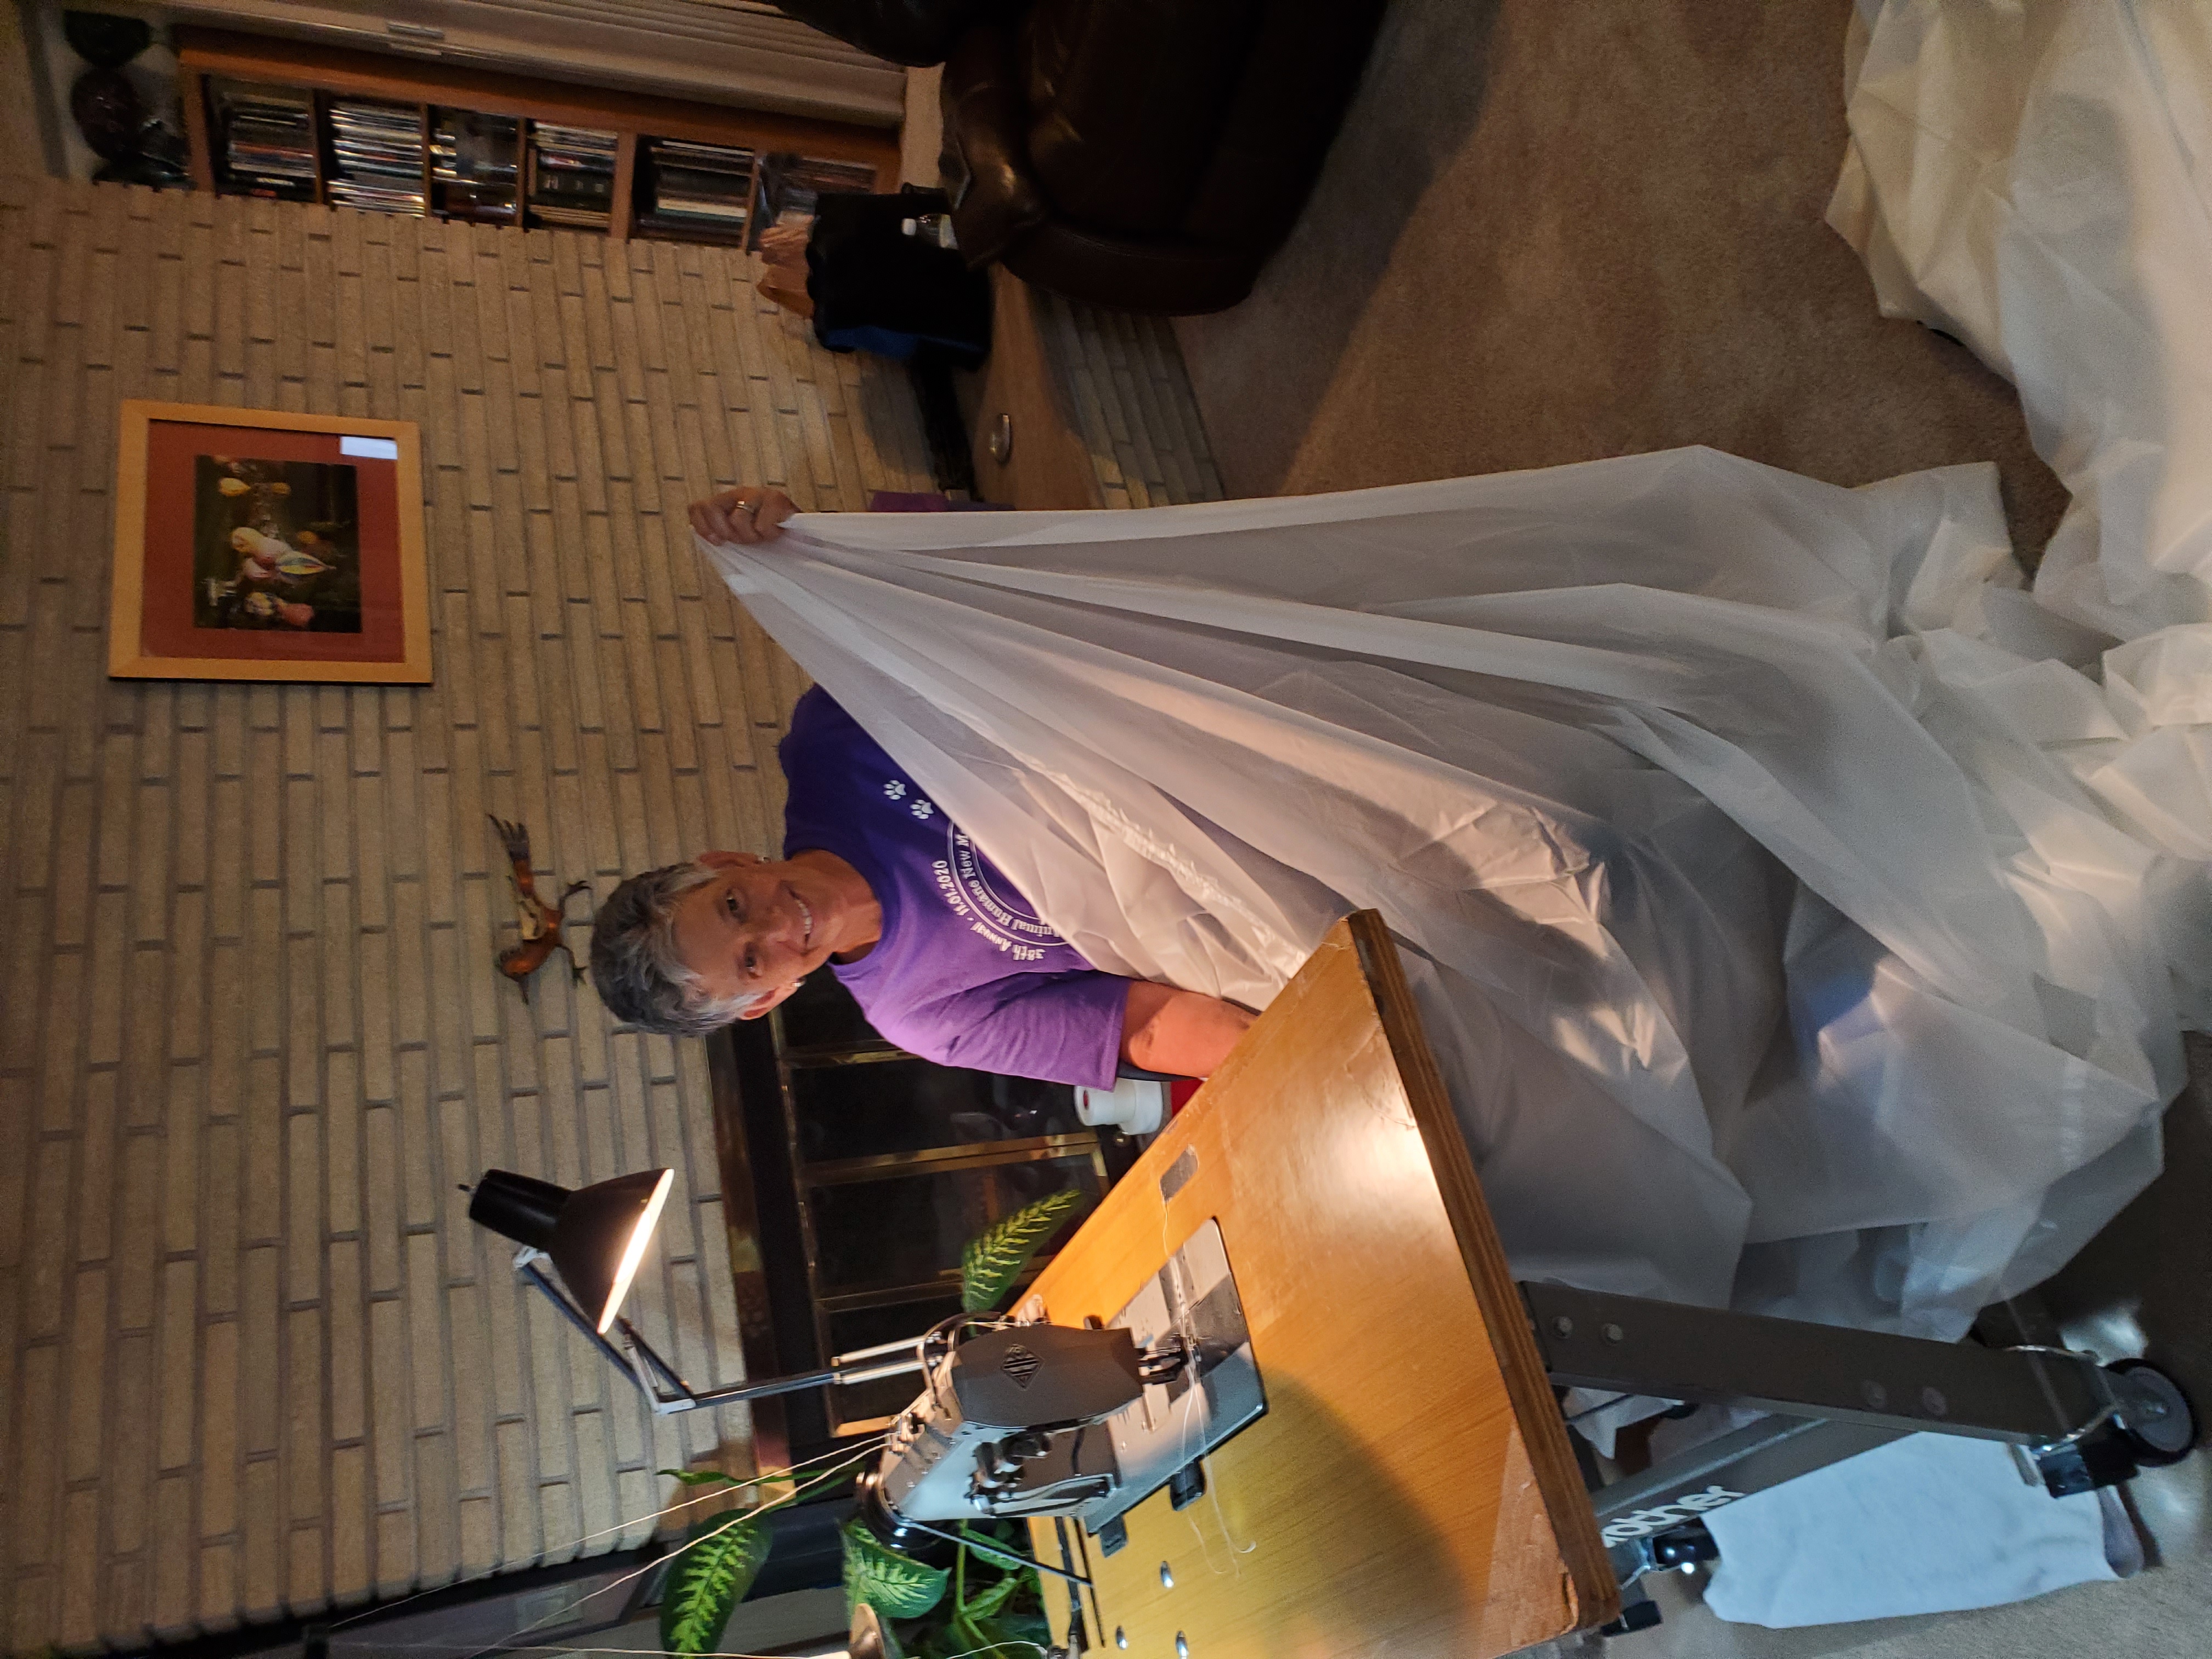
As when building any complicated structure, making a balloon envelope involves a team of workers coordinating many different tasks to produce a single end product. For this balloon, tasks were divvied up to the three team members. Barbara handled the major task of sewing. Peter modified a pre-existing design which used 24 full length gores. He split each gore into 16 vertically aligned panels. Envision a fabric ladder sixteen rungs high. Peter also dealt with procurement of the seven colors of fabric, the three widths of load tape, the metal base and top fittings, the hoop for the skirt and other multiple other miscellaneous parts.
After the design was completed, full size patterns for each panel were laid out on large pieces of butcher paper and then the patterns were laid over the actual balloon fabric to guide cutting the fabric. A total of 384 panels (24 panels x 16 gores) were required to complete the main envelope. Another 25 panels went into the cap and 6 panels made up the skirt. This task fell mostly on Judy and Peter with help from Barbara. Judy supplied Kevlar cables and carabiners from a dead envelope. Bert and Joanie undertook the critical task of creating the colorful 30 foot tall characters.
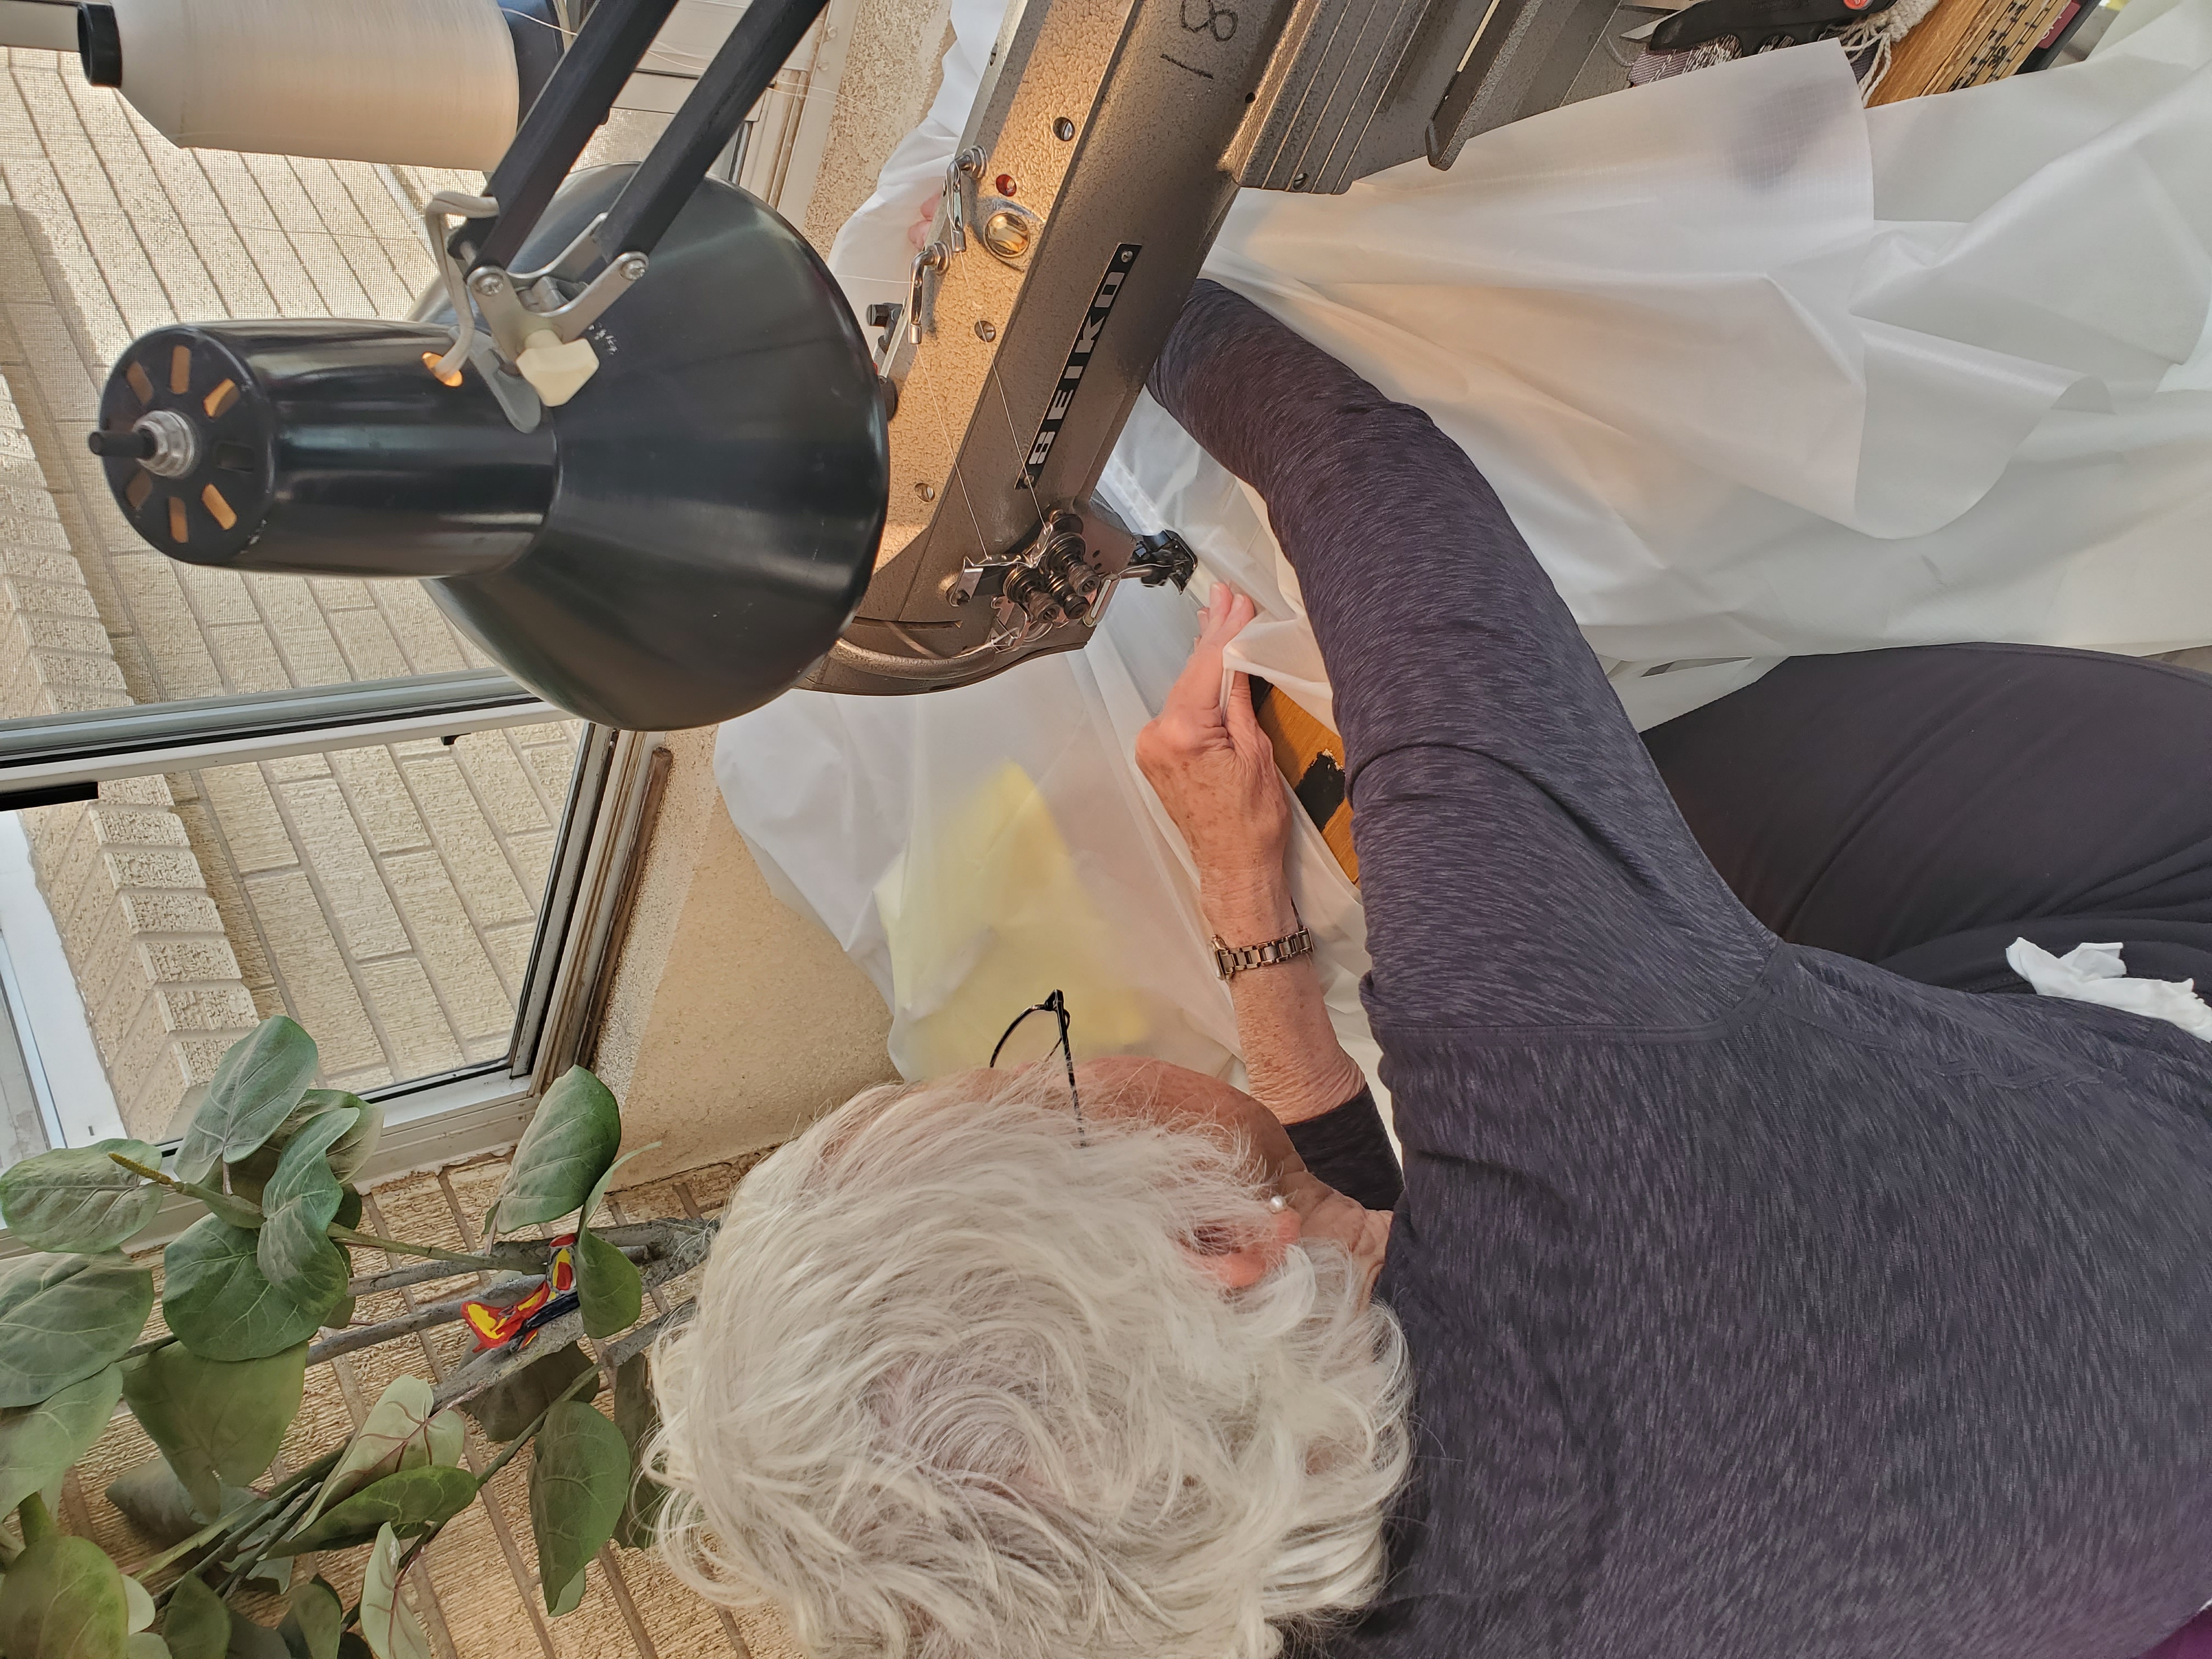
Barbara tool of choice for sewing is an industrial double needle sewing machine that once served Steve Fossett's round the world projects with Bert Padelt in the hot sewing seat. Peter and Barbara acquired it from Bert after Steve's projects ended.
Barbara first started sewing the bottom 2 panels of gore 1 together. She then continued adding panels until all 16 panels of gore one were together. She then repeated this process 17 more times to complete 18 of the required 24 gores.
The panels to make remaining 6 gores were shipped off to Best Aviation in Bally, PA where Bert and Joanie Padelt started the arduous task of constructing the two 30 foot high, inlaid representation of Wile E. Coyote and Roadrunner. The final characters are magical, but their construction relied on Bert and Joanie's skill rather than wizardry.
First, the sub-scale images were projected up to 1/3 real scale size on transparencies. Then the transparencies were projected full size onto the actual balloon fabric. Finally, the complicated process of piecing each color into the image began. Think of this as a cross between doing a jig saw puzzle and constructing a stained glass window. The completed six gores of animals (3 for Wile E. and 3 for Roadrunner) were shipped back to Albuquerque for Barbara to install in the almost completed balloon.
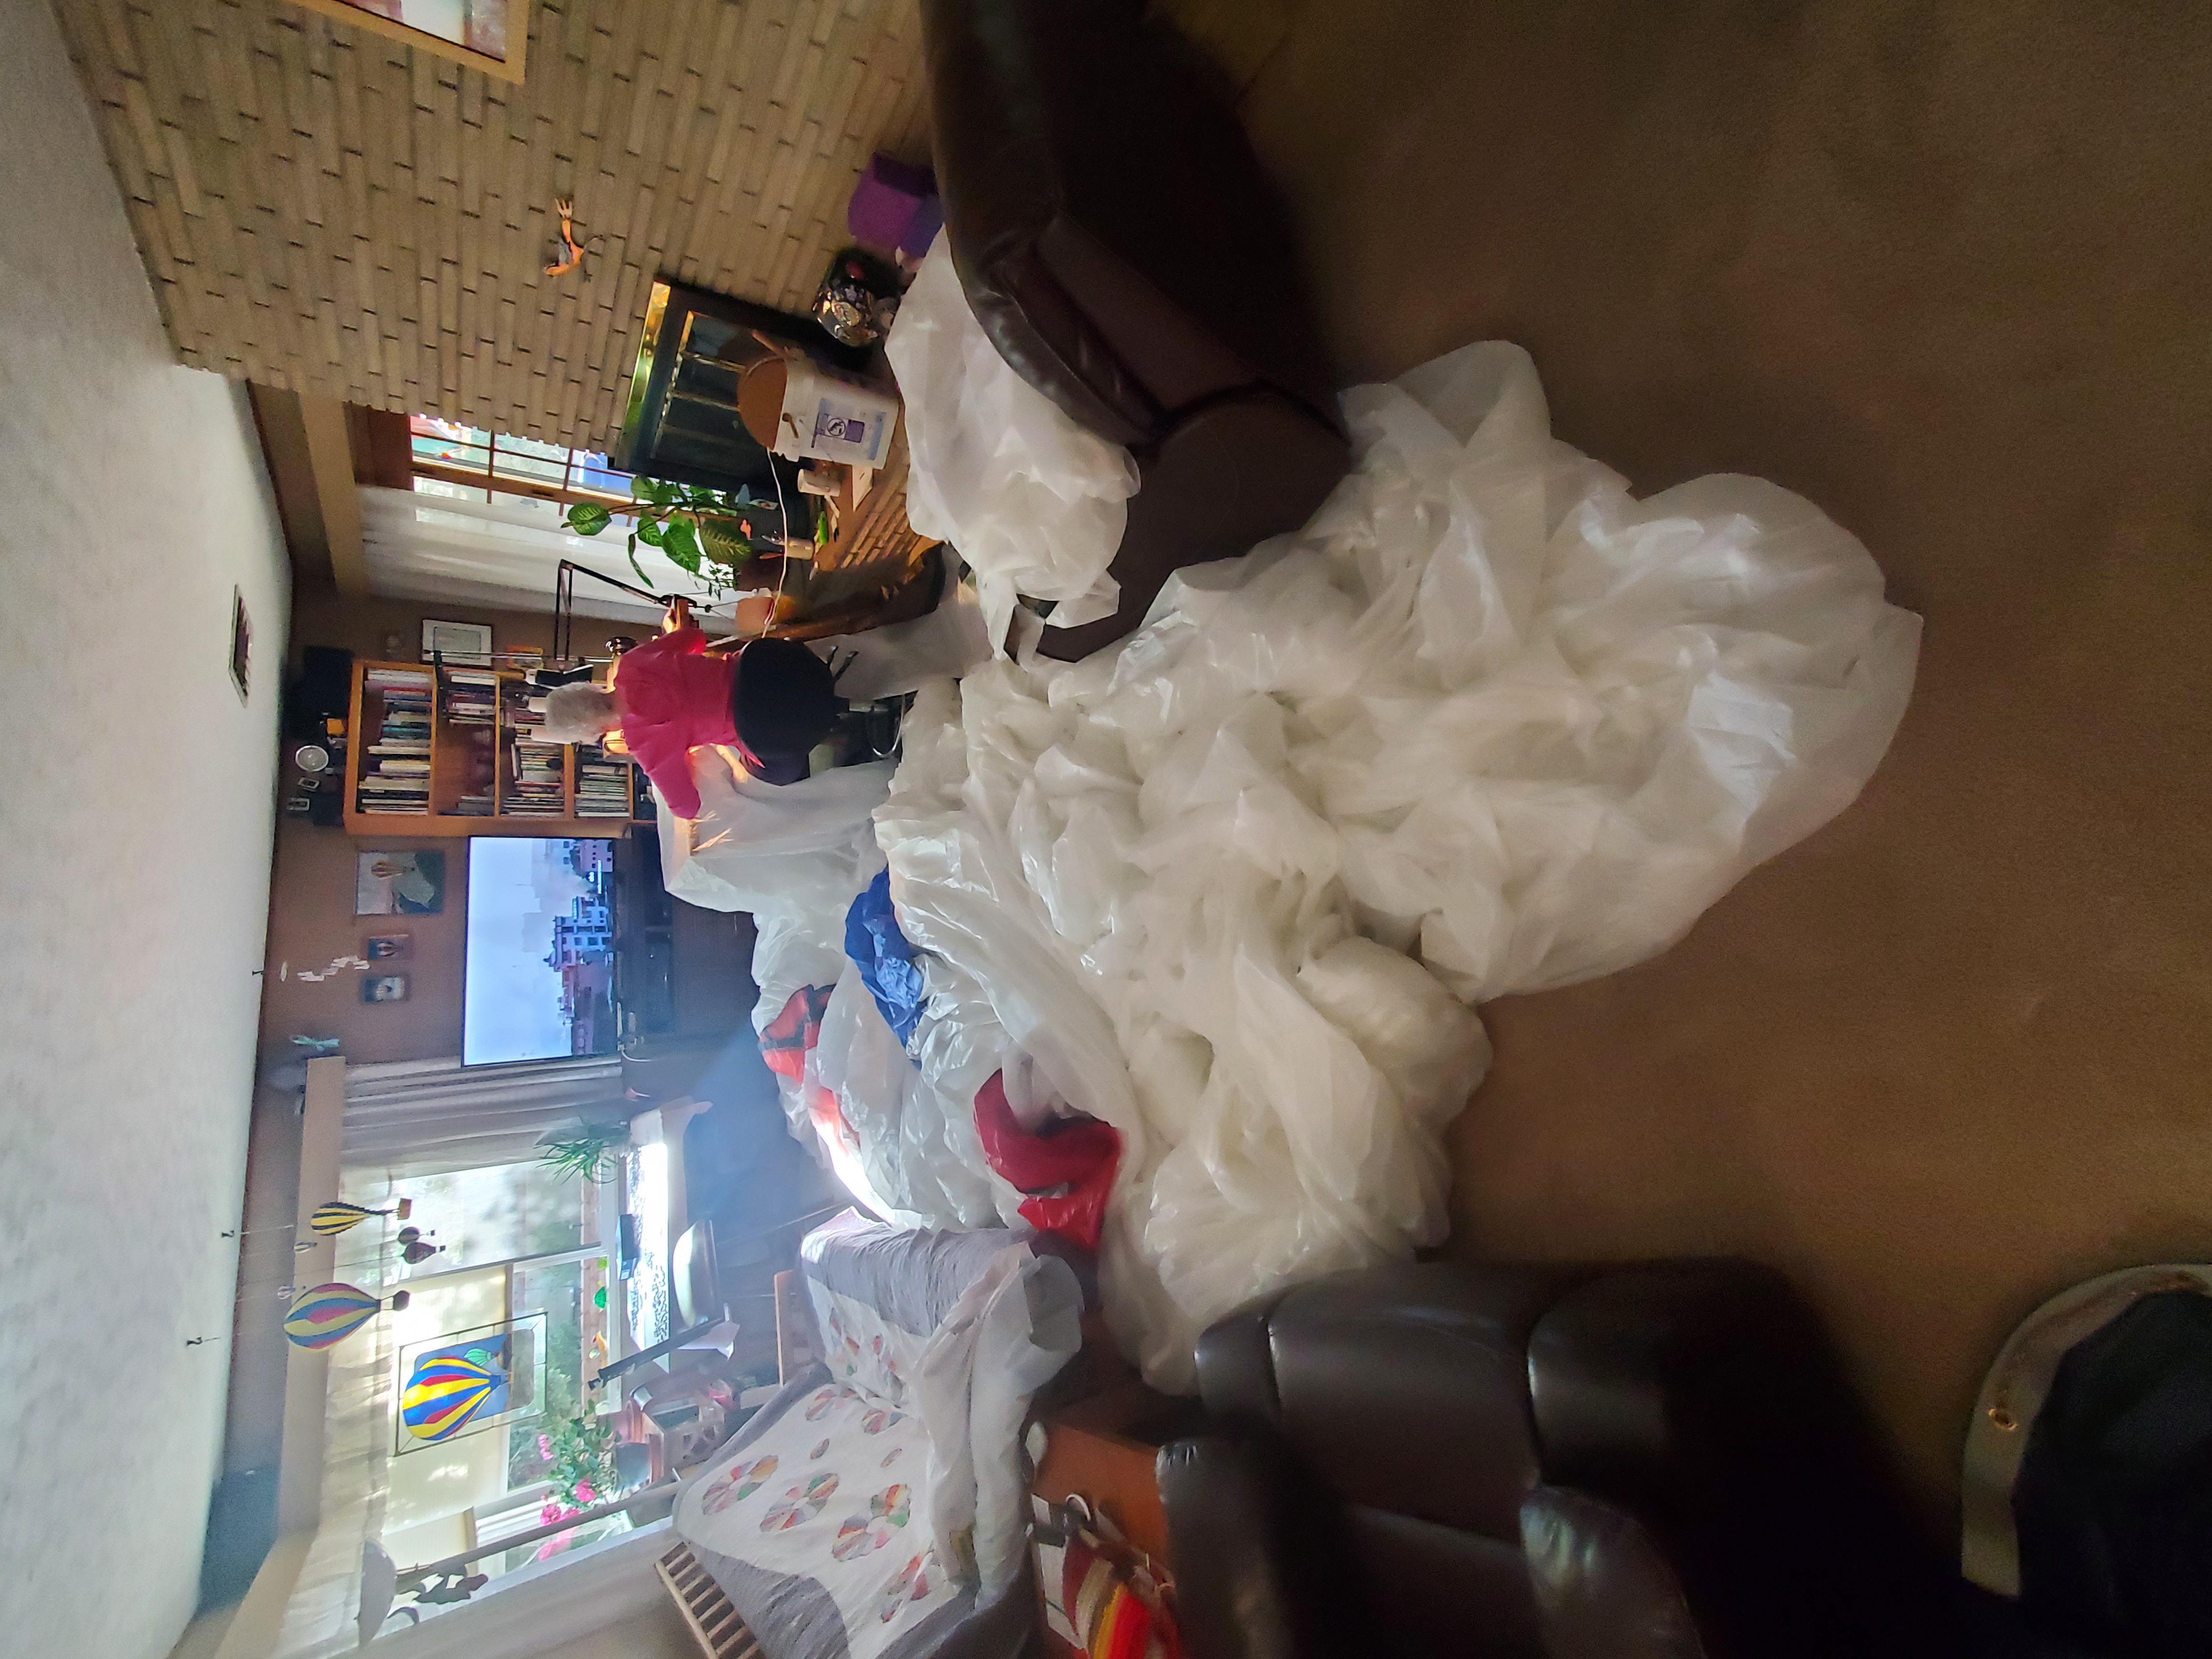
The real fun occurs when the 24th and final seam is sewn to connect gore 1 to gore 24. This seam converts the project from a big pile of fabric to a closed up sort of spherical envelope. The pile of fabric fills up a good sized room and somehow all this must be maneuvered through the closed arm of the sewing machine to complete the 80 foot long seam.
Now we have a big fabric sphere-ish pile of fabric with one 19 foot diameter hole in the top and another smaller hole at the bottom. A 'spider' of one inch load tape spans the top opening. Think of a wagon wheel with 24 fabric spokes radiating out from a central four inch diameter steel apex ring that is the piece that holds the whole balloon together. Each of these 24 spokes continues all the way down the side of the balloon and connect at the bottom of the envelope to the cables that support the basket.
The spider is used to retain a large red circle of fabric called the "cap" or "parachute" which fills the top hole and keeps hot air inside the balloon. This cap is held in place by 24 centering lines positioned around the cap and running from the edge of the cap to the main body of the balloon. The length of these centering lines is crucial. If they are too long the cap can slide out of position and if they are two short the cap cannot push up against the spider and seal the opening to keep hot air from escaping.
When completed the cap looks a bit like a very large, red, 24 slice pizza pie with white reinforcing fabric tape around the outer circumference.
The cap serves another purpose. It can be activated from the basket to allow the pilot to release hot air and initiate a descent. A single red cord runs from the basket up inside the balloon and is connected to 24 more lines which radiate out to the edge of the cap. Think of the suspension lines of a parachute (thus the common name "parachute" for the cap.) Pulling down on the red line pulls on the edges of the cap and creates an annular opening for hot air to rush out of.
Adding the spider, the cap (or parachute), the centering lines and the redline to the envelope completes the top of the balloon envelope.
The bottom of the balloon envelope must be finished by adding a metal fitting to the bottom of each load line, which as we mentioned before, runs the down full height of the envelope from the apex ring. The 12 cables that support the basket (three at each corner of the basket) are attached to these metal fittings.
Finally a cylindrical 'skirt' is fabricated and hung just below the bottom of the envelope, surrounding the burner, to protect it from drafts that might extinguish the burner's pilot light.
That completes the envelope. Now on to FAA certification and the initial test flights.